


Ultimate Guide to Upgrading Your Alienware Aurora R11 GPU for Enhanced Gaming Performance
Why Upgrade Your GPU?
Upgrading the graphics card in your Alienware Aurora R11 is one of the most effective ways to significantly boost your gaming performance. With the constant evolution of gaming technology, having a high-performance GPU is crucial for enjoying the latest games at their best. Here’s why you should consider an upgrade:
- Latest Games Demand More: Modern games like Cyberpunk 2077, Elden Ring, and Resident Evil 4 require powerful GPUs to run smoothly, especially at high resolutions and detail settings. An upgraded GPU ensures you can play these games without compromising on performance[3].
- Future-Proofing: Investing in a newer GPU like the Nvidia GeForce RTX 4070 or RTX 4080 future-proofs your system, allowing you to handle upcoming game releases with ease.
- Enhanced Visuals: Newer GPUs often come with advanced features like DLSS (Deep Learning Super Sampling) and ray tracing, which enhance the visual quality of your games, making them more immersive and realistic.
Preparing for the Upgrade
Before you dive into the upgrade process, there are a few things you need to consider and prepare:
Have you seen this : Unlocking Peak Performance: Best BIOS Configurations for Your MSI MEG Z490 Unify Motherboard
Safety First
Always ensure your safety and the safety of your hardware. Here are some key steps to follow:
- Power Down: Turn off your computer and all attached peripherals. Unplug the power cord and any other cables to prevent any accidental startups[5].
- Ground Yourself: Static electricity can damage your components. Use an anti-static wrist strap or touch a grounded metal object to discharge any static electricity from your body.
- Consult the Manual: Refer to the Alienware Aurora R11 Service Manual for specific safety guidelines and instructions on how to open your case safely.
Tools and Equipment
Make sure you have the necessary tools and equipment:
This might interest you : Top Strategies for Optimizing Storage and Backup Solutions on Your Synology DS918+ for an Efficient Home Office
- Screwdrivers: You will need a Torx screwdriver and possibly a Phillips head screwdriver.
- Anti-Static Bag: If you are removing the old GPU, place it in an anti-static bag to protect it.
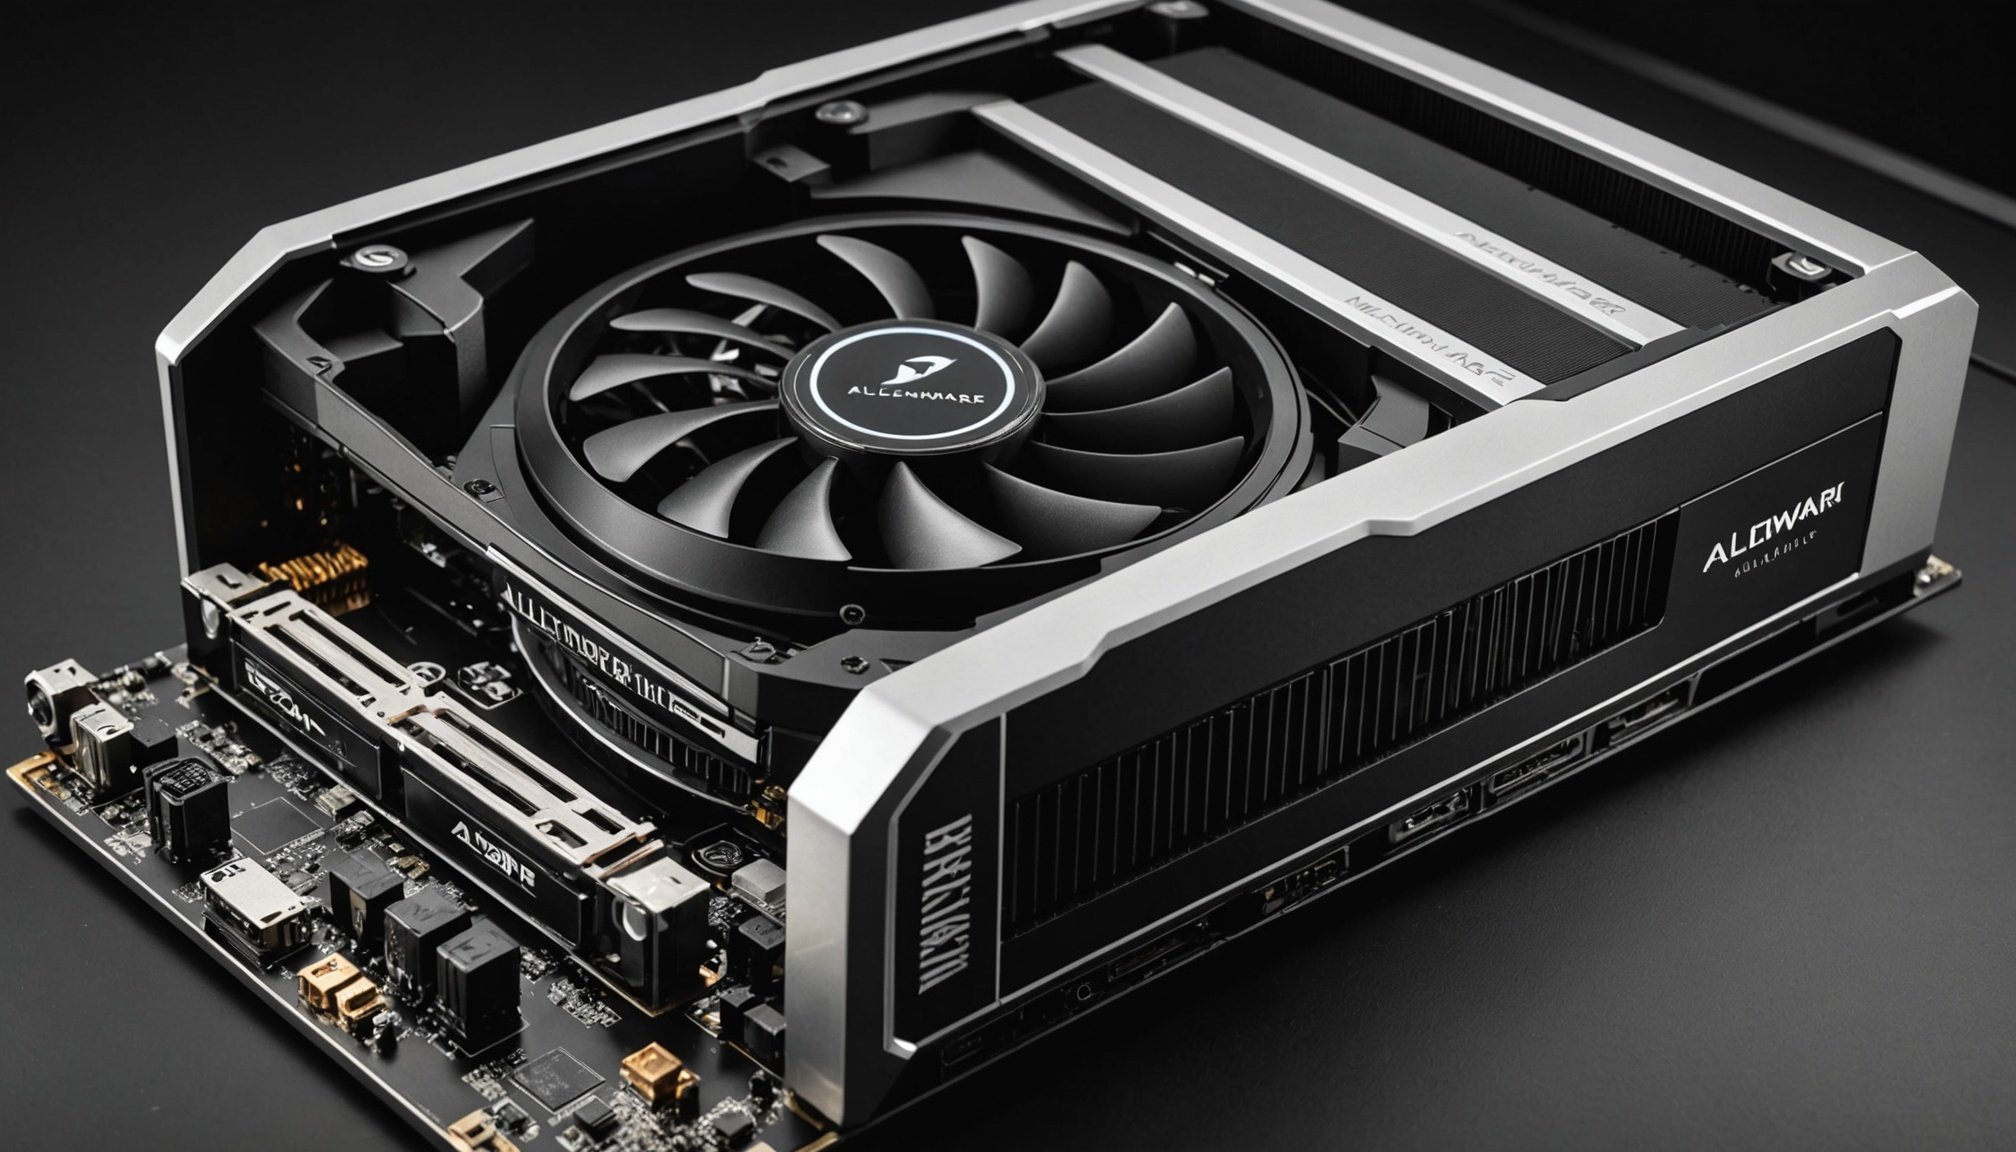
- New GPU: Ensure your new GPU is compatible with your system. For the Alienware Aurora R11, you can opt for GPUs like the Nvidia GeForce RTX 4070 or RTX 4080[3].
Step-by-Step Guide to Upgrading Your GPU
Removing the Old GPU
Here’s a detailed guide on how to remove the old GPU:
- Open the Case:
- Remove the side panel of your Alienware Aurora R11. This usually involves removing screws at the back of the case.
- Carefully pull the panel off to access the interior.
- Disconnect Power Cables:
- Locate the power cables connected to the GPU. These are usually 6-pin or 8-pin PCIe power connectors.
- Gently pull the connectors off the GPU.
- Disconnect Data Cables:
- Disconnect any data cables such as HDMI, DisplayPort, or DVI cables from the GPU.
- Remove Screws:
- Find the screws holding the GPU in place. These are usually located at the PCIe slot.
- Remove the screws using a screwdriver.
- Carefully Pull Out the GPU:
- Gently pull the GPU out of the PCIe slot. Be careful not to touch any of the electrical components.
Installing the New GPU
- Align the New GPU:
- Align the new GPU with the PCIe slot. Ensure the gold contacts on the GPU match up with the slot.
- Gently Push the GPU Into the Slot:
- Carefully push the GPU into the PCIe slot until it clicks into place.
- Secure the GPU:
- Replace the screws you removed earlier to secure the GPU in place.
- Reconnect Power Cables:
- Connect the power cables to the new GPU. Make sure they are securely connected.
- Reconnect Data Cables:
- Reconnect any data cables such as HDMI, DisplayPort, or DVI cables to the new GPU.
- Close the Case:
- Replace the side panel and screw it back into place.
Choosing the Best GPU for Your Alienware Aurora R11
When selecting a new GPU, several factors come into play:
Nvidia GeForce RTX Series
The Nvidia GeForce RTX series is highly recommended for gaming PCs, especially the RTX 4070 and RTX 4080:
- Performance: These GPUs offer exceptional performance, capable of running games at high resolutions with ultra settings. For example, the RTX 4080 can run Cyberpunk 2077 at 147fps at 4K with ultra ray tracing settings enabled, thanks to DLSS 3 AI upscaling[3].
- Features: They come with advanced features like ray tracing, DLSS, and variable rate shading, which significantly enhance gaming visuals.
Compatibility
Ensure the GPU is compatible with your system:
- PCIe Version: The Alienware Aurora R11 supports PCIe 4.0, so make sure your new GPU is compatible with this version.
- Power Supply: Ensure your power supply unit (PSU) can handle the power requirements of the new GPU. A minimum of 650W is recommended for high-end GPUs[5].
Additional Upgrades to Consider
While upgrading your GPU, you might also want to consider other upgrades to maximize your system’s performance:
Storage Upgrades
Upgrading your storage can significantly improve your system’s overall performance:
- SSD: Consider adding an NVMe SSD, which can be connected using an M.2 to PCIe adapter if your motherboard lacks M.2 slots. This can greatly improve loading times and system responsiveness[2].
- Hard Drive: If you need more storage, consider adding a high-capacity hard drive.
RAM Upgrades
Upgrading your RAM can also enhance performance, especially if you are running multiple applications simultaneously:
- DDR5 RAM: If your motherboard supports it, DDR5 RAM offers higher speeds and better performance compared to DDR4. Ensure you have a compatible motherboard and CPU[3].
Benchmarking and Testing Your New GPU
After the upgrade, it’s essential to benchmark and test your new GPU to ensure it’s performing as expected:
Benchmarking Tools
Use benchmarking tools like 3DMark, Unigine Heaven, or in-game benchmarks to test your GPU’s performance.
Real-World Testing
Test your GPU with real-world gaming scenarios:
- Play High-Demand Games: Play games like Cyberpunk 2077, Elden Ring, and Resident Evil 4 to see how your new GPU handles them.
- Monitor Frame Rates: Use tools like FRAPS or the in-game frame rate counter to monitor frame rates and ensure they are stable.
Practical Insights and Actionable Advice
Here are some practical insights and actionable advice to keep in mind:
Budgeting
- Set a Budget: Determine how much you are willing to spend on the upgrade. High-end GPUs can be expensive, but they offer significant performance gains.
- Consider Black Friday Deals: Keep an eye out for Black Friday deals or early Black Friday sales, which can offer significant discounts on hardware components[3].
Warranty and Support
- Check Warranty: Ensure that your new GPU is under warranty and that you have adequate support from the manufacturer.
- Dell Support: If you are upgrading your Alienware Aurora R11, check Dell’s support resources for any specific guidelines or recommendations.
Future-Proofing
- Choose Future-Proof Hardware: Opt for hardware that is future-proof, such as the latest Nvidia GeForce RTX series GPUs and Intel Core i9 or AMD Ryzen 7 processors.
- Upgrade in Stages: If budget is a concern, consider upgrading in stages. Start with the GPU and then move on to other components like RAM and storage.
Upgrading your Alienware Aurora R11 GPU is a significant step towards enhancing your gaming performance. By following the steps outlined above, choosing the right hardware, and considering additional upgrades, you can ensure your system remains at the top of its game.
Key Takeaways
- Performance Gains: Upgrading to a high-performance GPU like the Nvidia GeForce RTX 4070 or RTX 4080 can significantly boost your gaming performance.
- Compatibility: Ensure all new components are compatible with your system to avoid any compatibility issues.
- Future-Proofing: Choose future-proof hardware to ensure your system remains relevant for upcoming game releases.
By investing time and resources into upgrading your GPU, you are not only enhancing your current gaming experience but also future-proofing your system for the demands of tomorrow’s games.
Detailed Bullet Point List: Steps to Upgrade Your GPU
-
Prepare Your Tools and Equipment:
-
Torx screwdriver
-
Phillips head screwdriver
-
Anti-static wrist strap or anti-static bag
-
New GPU
-
Power cables
-
Data cables
-
Open the Case:
-
Remove screws at the back of the case
-
Carefully pull off the side panel
-
Disconnect Power Cables:
-
Locate 6-pin or 8-pin PCIe power connectors
-
Gently pull the connectors off the GPU
-
Disconnect Data Cables:
-
Disconnect HDMI, DisplayPort, or DVI cables from the GPU
-
Remove Screws:
-
Find screws holding the GPU in place
-
Remove screws using a screwdriver
-
Carefully Pull Out the GPU:
-
Gently pull the GPU out of the PCIe slot
-
Align the New GPU:
-
Align the new GPU with the PCIe slot
-
Ensure gold contacts match up with the slot
-
Gently Push the GPU Into the Slot:
-
Carefully push the GPU into the PCIe slot until it clicks into place
-
Secure the GPU:
-
Replace screws to secure the GPU in place
-
Reconnect Power Cables:
-
Connect power cables to the new GPU
-
Ensure they are securely connected
-
Reconnect Data Cables:
-
Reconnect HDMI, DisplayPort, or DVI cables to the new GPU
-
Close the Case:
-
Replace the side panel and screw it back into place
Comprehensive Table: Comparison of Nvidia GeForce RTX GPUs
| GPU Model | Nvidia GeForce RTX 4060 | Nvidia GeForce RTX 4070 | Nvidia GeForce RTX 4080 |
|---|---|---|---|
| Performance | Good for 1440p gaming | Excellent for 4K gaming | Exceptional for 4K gaming with ultra settings |
| Ray Tracing | Supported | Supported | Supported with enhanced performance |
| DLSS | Supported | Supported with DLSS 3 | Supported with DLSS 3 |
| Memory | 8GB GDDR6X | 12GB GDDR6X | 16GB GDDR6X |
| Power Consumption | Around 260W | Around 320W | Around 420W |
| Compatibility | PCIe 4.0 compatible | PCIe 4.0 compatible | PCIe 4.0 compatible |
| Price | Generally more affordable | Mid-range | High-end |
Quotes and Insights from Experts
- “The new Aurora provided punchy performance in our benchmark games, hitting higher figures than the R16 in Cyberpunk 2077 specifically. Performance was more than adequate at 4K in the likes of Baldur’s Gate 3 too, with averages remaining steady across lengthy gaming sessions.”[3]
- “If you pick up an Nvidia version, you’ll also have DLSS at your disposal, enabling you to theoretically double frame rates using AI upscaling and frame generation.”[3]
- “Ensure that you turn off your computer and all attached peripherals. For more information about safety guidelines, see the Alienware Aurora R11 Service Manual at //www.dell.com/support.”[5]
By following this guide, you’ll be well on your way to upgrading your Alienware Aurora R11 GPU and enjoying the best gaming performance possible. Happy gaming